Withdraw Settlement Account #
This settings is the location where your company’s bank account is added. The withdraw settlement account is the bank account where funds are settled when you make a withdraw.
How to add and update settlement account details
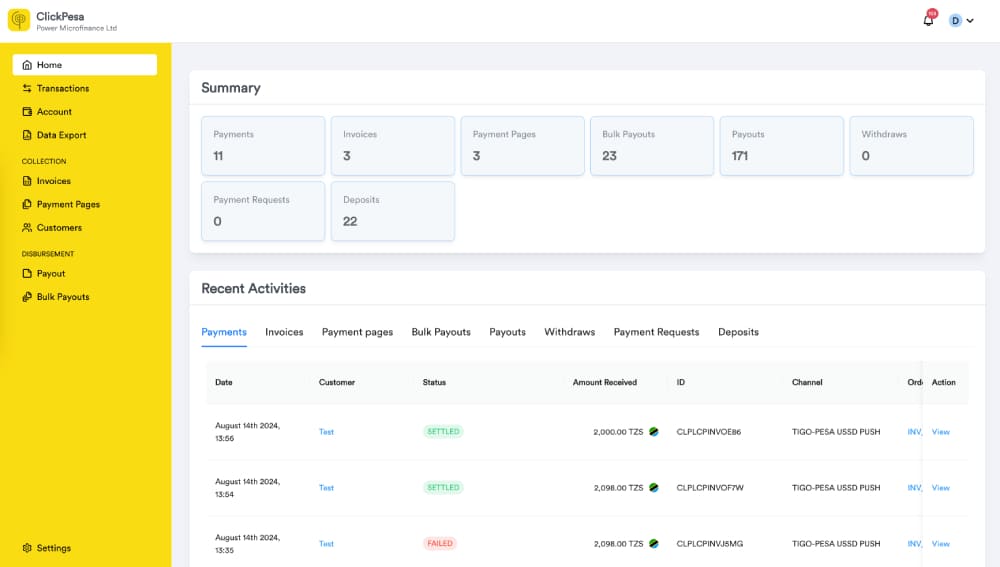
- On the ClickPesa Merchant Dashboard homepage, go to the bottom left corner and click on the Settings tab, select Disbursement tab.
- Click the “Add Bank Details” button to add the details of the account that you to settle funds on withdraw.
- After adding your Bank Name, Account Name, Account Number, Account Currency, Swift Code, and Routing Number(Routing number does not apply to some of the banks and countries like Tanzania so you can leave it blank)
Note: The bank account name needs to be in the name of the registered company. Any other name will not be accepted and the collected funds will not be settled accordingly. - You will be prompted with password field for security check to verify its you who setting bank details.
- Edit Settlement Account details
- On settlement settings page, click edit button to modify any information in your settlement account details.
- Once you’ve updated your settlement account details, click the “Save” button to ensure the changes are saved.
- You will be prompted with password field for security check to verify its you who is updating bank details.
- On settlement settings page, click edit button to modify any information in your settlement account details.
Frequently Asked Questions (FAQ) #
- Can I add my personal bank account as director as a settlement account?
The bank account name needs to be in the name of the registered company. Any other name will not be accepted and the collected funds will not be settled accordingly.
Payouts #
How to Access Payout Settings #
- Log in to your ClickPesa Merchant Dashboard.
- Navigate to the settings tab, which is typically located at the bottom left corner of your dashboard.
- Click on DIsbursement tab on settings page
- Scroll to the section called Payouts
Fee Bearer Settings #
This Payout Settings allows merchants to define who bears the fees associated with payouts. There are three options available for fee allocation: the merchant, the beneficiary, or both the merchant and beneficiary sharing the fee equally. This document explains how to configure these settings.
These settings are used on single payout and bulk payouts.
Configuring Fee Bearer Settings #
Once you have accessed the Payout Fee Bearer Settings, you will find the following options:
- Merchant (Default): With this option selected, the merchant covers all fees associated with payouts. The beneficiary receives the full payout amount.
- Beneficiary: When this option is chosen, the beneficiary is responsible for covering all payout fees. The merchant disburses the payout amount, and any fees are deducted from the beneficiary’s portion.
- Both: Selecting this option means that both the merchant and beneficiary share the payout fees equally. The fees are divided evenly between the two, and the net payout amount is calculated accordingly.
How to Set the Fee Bearer
- Click on the preferred fee bearer option. The selected option will be highlighted or marked for clarity.
- You will be prompted with password field drawer for security check to verify its you who is updating fee bearer.
Payout Roles #
This settings help merchants to assign payout roles to their team members so they can create/authorize payouts on their behalf.
Configuring Payout Role Settings #
Once you have accessed the Payout Settings:
- If you don’t have any role added, you will find a button saying Assign Role
- If you already have assigned roles you will find a button saying Assign Role
- Clicking those buttons will open a drawer where you can assign a role to your team members, roles including Initiator and Approver. Team members who are just employees will only be able to be assigned an Initiator role while Managers will be able to be assigned Initiators or Approvers.
What are these Payout Roles?
Initializor
- Can create / initiate bulk payouts but can not confirm it.
- Can initiate a single payout but can not authorize it. The payouts that were created by initiator will have UNAUTHORIZED status
Approver
- Can confirm bulk payouts
- Can authorize single payouts
Tips and Best Practices
- Consider your business model and customer base when setting the fee bearer option. For example, if your customers are price-sensitive, you may opt to cover the fees as the merchant to enhance the customer experience.
- It’s advisable to clearly communicate the fee bearer settings to your customers, so they are aware of any potential deductions from their payouts.
Frequently Asked Questions (FAQ) #
- Where are Payout Fee Bearer Settings Used?
- The Payout Fee Bearer Settings are applied to all payout transactions processed through the ClickPesa Merchant Dashboard. The selected fee bearer option determines who covers the fees associated with each payout.
- Can I Change the Fee Bearer for Each Payout Transaction?
- The fee bearer settings are typically configured at the account level. This means that the selected option applies to all payout transactions processed by the merchant. If you have a transaction that need different configurations the best option is to change Fee settings to match transaction requirements, perform the payout and change the settings back to the previous settings. You can always change this setting to match your requirements.
- Can the Fee Bearer Setting Be Communicated to the Beneficiary?
- Yes, it’s a good practice to inform the beneficiary about the fee bearer setting for transparency. This can be done through clear communication in your payment or payout policies and during the transaction process to ensure that beneficiaries are aware of any fee deductions from their payouts.